Keeping Cool on a Hatteras 53: A DIY Air Conditioning Fix
Companion video click here
Hey, DIY yacht crew! Welcome back to The DIY Yacht Guy, where we tackle boat projects that make cruising life sweeter. This time, I’m diving into the engine room of my buddy’s 1983 Hatteras 53 Motor Yacht to fix the air conditioning system. If you’ve ever sweated through a hot day on the water with no AC, you know this is a job worth doing right. We’re swapping out a clunky old pump control box and rewiring a pump to get that cool air flowing again. Grab a wrench and let’s get to it!
The Mission: Revive the AC
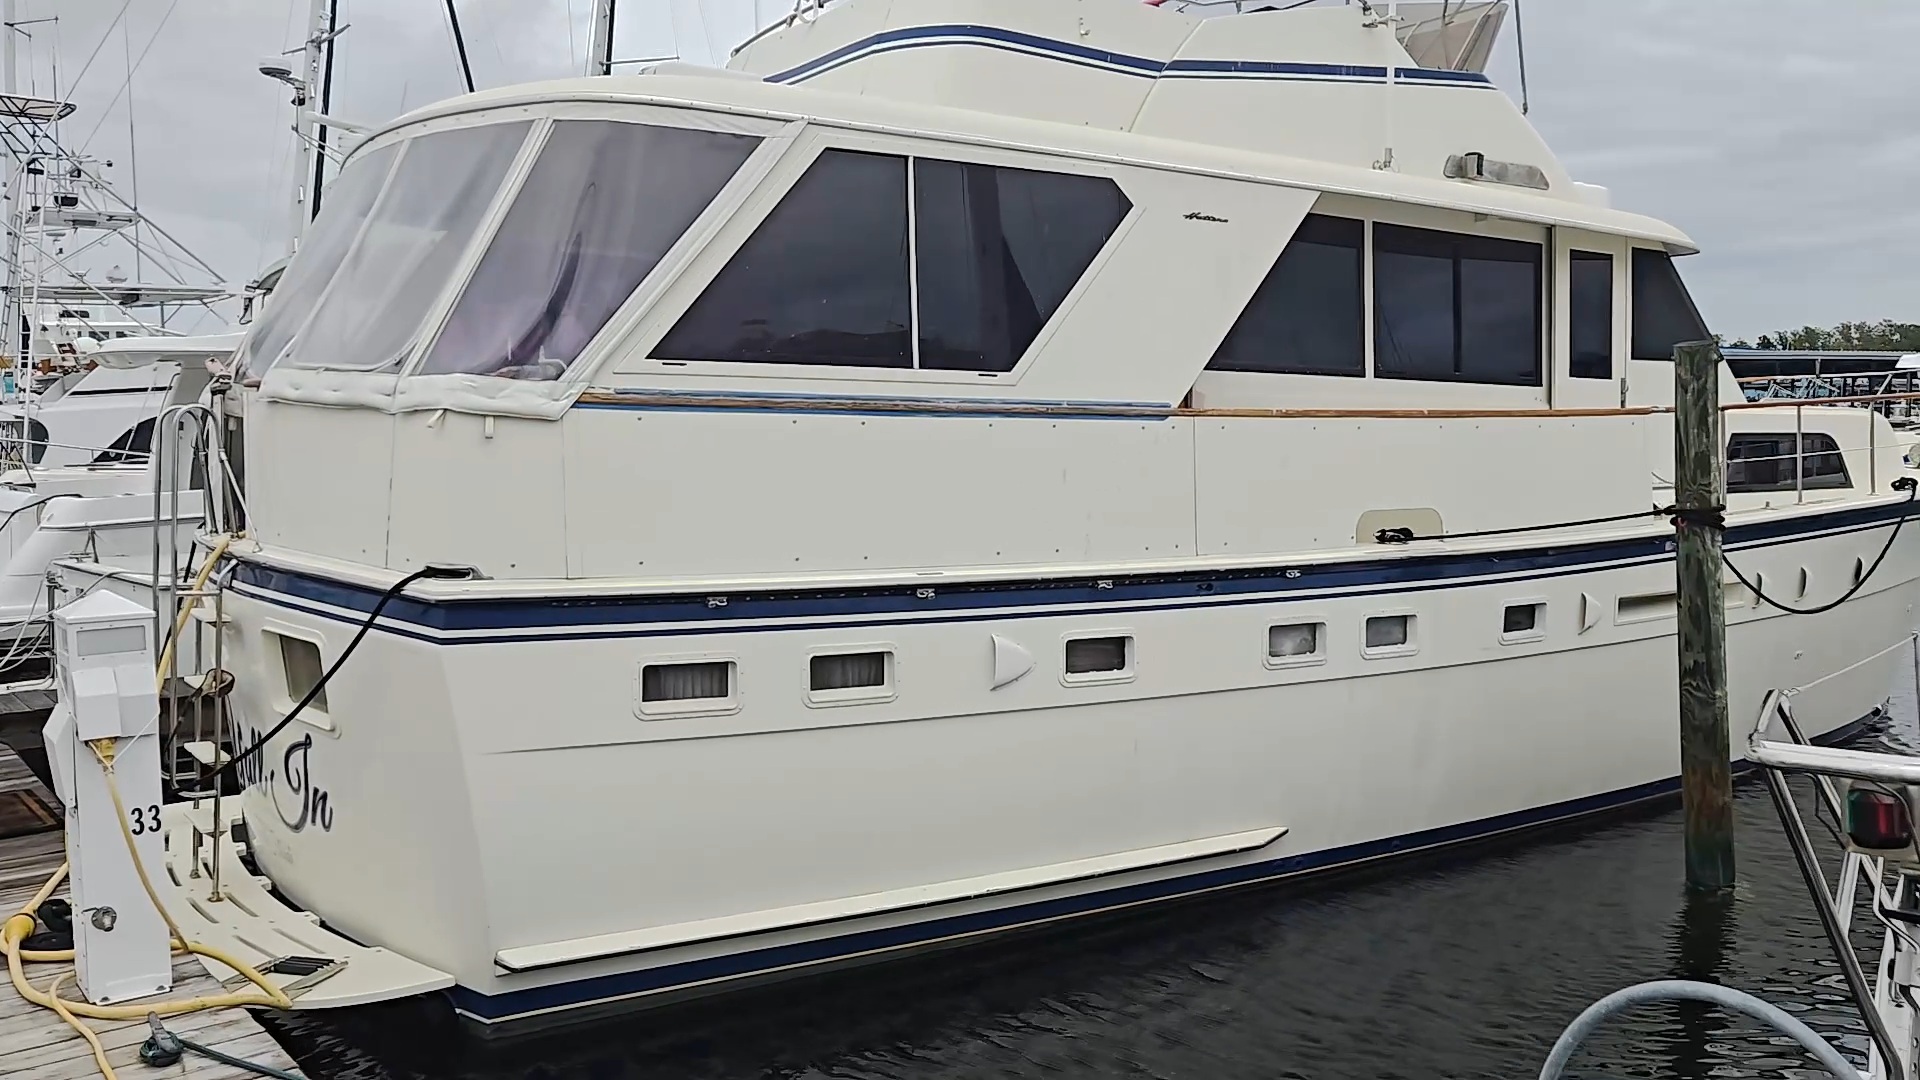
Picture a classic Hatteras 53, all ready for adventure—except the air conditioning is on strike. The problem? A dated white control box in the engine room that runs the water circulation pump for the AC units. This thing was straight out of the ’80s, packed with circuit cards and a bad attitude. It wasn’t keeping the pump happy, which meant no water flow through the AC coils. Our fix? Replace it with a sleek, modern relay box and sort out a pesky pump wiring issue.
Step 1: Scoping Out the Engine Room
First, I got into the engine room . The AC units are tucked in there, with the control box sitting below two blue boxes. This white box was the brains of the operation, telling the pump when to circulate raw water through the AC coils. But with its ancient circuit cards, it was more like a grumpy retiree than a reliable crew member. The new box? A simple relay that takes eight inputs and flips the pump on whenever any AC unit is running. Clean, efficient, and ready to roll.
Pro Tip: Before messing with anything electrical, flip the breaker off at the panel. Then, double-check with a multimeter to make sure the power’s really off. Nobody wants to be the boat’s new lightning rod.
Step 2: Yanking the Old Box
With the power off, I popped the cover off the old control box. Inside was a tangle of wires and circuit cards—definitely not user-friendly. The signal wires (the ones that tell the pump to run) were all the same color, so I disconnected them pair by pair and taped them together. This saved me from playing “where’s Waldo” with the wires later. Next, I pulled the power in and out wires for the pump. The box was bolted to the wall with square drive screws (because boats love to keep you on your toes). After grabbing the right tool, we got the box off, revealing a bit of rot on the mounting surface. Nothing a quick cleanup couldn’t fix.
DIY Hack: Label or tape your wires as you remove them. It’s a small step that saves big headaches when you’re reinstalling in a hot, cramped engine room.
Step 3: Mounting the New Relay Box
The new control box was a game-changer—compact, with a single contactor and clear spots for power in, power out, and signal wires. We decided to mount it sideways to line up with the existing pump wires, which meant extending a few signal wires. After cleaning the mounting surface and finding solid wood, we screwed the box in place. To fend off corrosion (because saltwater is the ultimate frenemy), we coated every connection with dielectric grease. Think of it as armor for your wiring.
Step 4: Wiring and the Inevitable Boat Curveball
We hooked up the signal wires, then the power lines, making sure everything was snug and greased. But, as every boat owner knows, there’s always a plot twist. When we turned the power back on, we only had one leg of the 220V—120V on one side, zilch on the other. The control box was getting signals from the AC units, but the pump wasn’t spinning because it was missing half its juice. After some head-scratching, we traced the issue to the circuit breaker panel. Classic boat shenanigans. As it turns out, the original pump was only supplied with 115V, so we need to adjust the pump.
Step 5: Rewiring the Pump
Here’s where things got spicy. The pump was wired for 220V, but the box was only getting 110V. No big deal—universal pumps like this can handle either voltage; you just need to rewire the terminals. We hauled the pump out of its pit (not my idea of a fun workout) and checked the schematic on the motor. It showed how to rearrange the terminals for 110V. We rewired it, hooked it to the new control box, and tested it. When that green light blinked on and the pump hummed, it was like music to my ears.
Boat Wisdom: Test everything before you put it back together. Nothing’s worse than reinstalling a pump only to realize you missed a wire.
Step 6: Victory Lap
With the pump rewired and tested, we tidied up the wiring and handed the pump re-installation to the owner. Once it was back in place, the system fired up, water flowed through the coils, and the AC units were ready to pump out frosty air. There’s no better feeling than turning a sweaty engine room into a cool, comfortable boat.
Wrapping It Up
This Hatteras 53 air conditioning fix was a perfect mix of DIY grit and boat-life surprises. Swapping the old control box for a modern relay and rewiring the pump made the system reliable and ready for countless cruises. If you’re diving into a similar project, take it slow, stay safe with electrical work, and tajke the time to use dielectric grease on your connections.
Got a boat project you’re proud of? Drop it in the comments or tag me on social media—I’m all about those DIY war stories. If this post saved your bacon (or your AC), hit that like button, subscribe to the blog, and ring the bell for more yacht-fixing adventures. Until next time, keep your tools handy and your boat cool!
Companion video click here
Fair winds,
The DIY Yacht Guy